*I bought 4 yds of an off white, very thin fabric (off the $1 a yd table)... this was plenty for my 5 yr old.
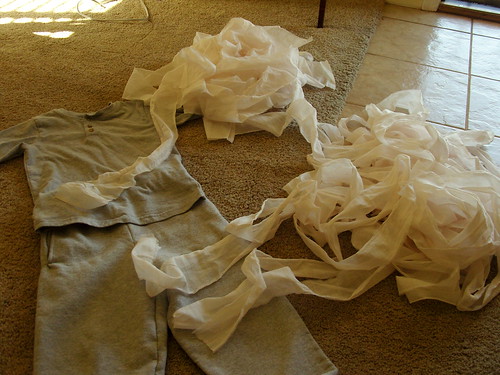
*I used gray sweat pants and a long sleeve gray t-shirt.
* 2-3 rolls of iron on adhesive tape, ultra hold.
If you plan to 'dye' the fabric... I would recommend doing it before you cut the strips (I had a huge ball of a tangle mess... and had to iron each individual strip... ugh...)
STEP ONE:
I made little snips with the scissors about 2 or 3 inches apart... and then pulled and ripped into strips.... it gave the fabric a torn look... here are the piles below.
STEP TWO:
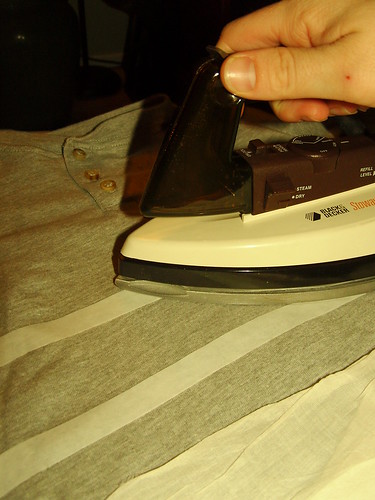
I started from the bottom... (follow the directions on the tape)... iron tape on the pants...let cool... peel off paper.... lay strip of fabric down in place... iron again.... let cool to set before pulling too much...
(at first it was a little awkward, but quickly I got a system... because you have to let the strips cool before you could peel and get started on the next step... I started ironing on a couple of strips at a time... see below)
STEP THREE and FOUR and FIVE:
Iron, flip, iron, flip.... I would take a strip, start the end on the inseam, iron and then flip the pants over... and iron it on the back... then would flip it back over and raise it a bit and iron that side. Around and around I went.
(I also left some long pieces hanging randomly on the pants and shirt for a more 'mummy' look. And some of the long strips in turn were tied together, there is one at the bottom left leg, with a little knot.)
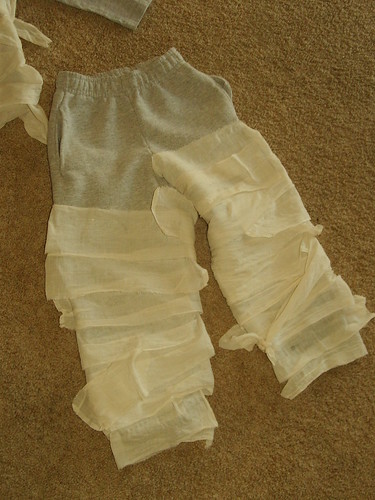
If you can tell from the picture, the entire strip isn't ironed on... just the width of the tape per strip... that allowed the strips not to look so stiff... they were soft and flow(y).
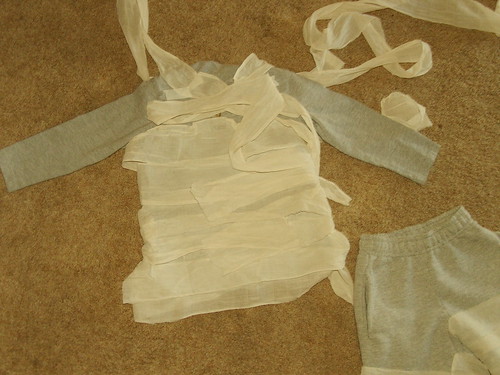
Some parts were a little tricky. Like the neck of the shirt. I didn't want it to be to tight to fit on my son's head. I made sure to keep the buttons undone (there were three little buttons up top) and made sure the strip was loose that went along that area) Also, notice the pants have pockets? Well, I didn't cover those up...(he wanted to keep his scary pointed teeth in there) so I just left that area with long strips or or about and inch or two left hanging.)
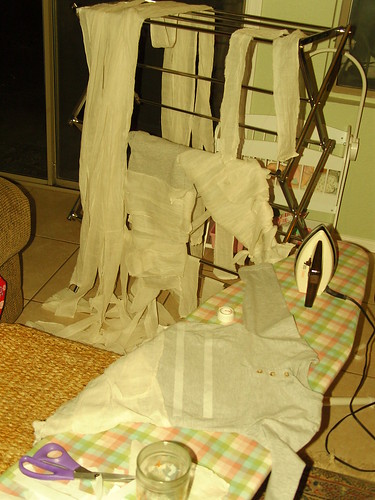
This was my work space... I sat here for quite a while on two different nights. Hubby and I watched t.v., well he watched I listened.
And here is my little mummy... my scary mummy. (he did not want to be cute.)
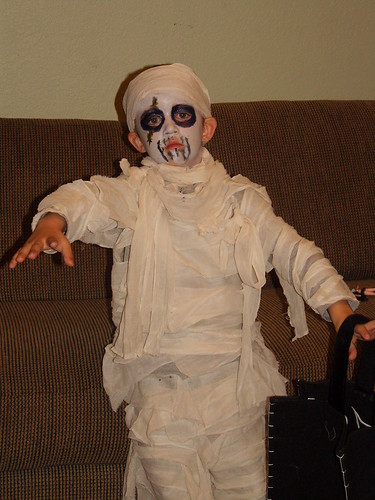
This costume was very forgiving. After doing and covering up with strips... I would take random smaller pieces and fit them in wherever they were needed.
We had plenty of strips left over... which we wrapped his head... and had a couple drap over his arms.
Happy Haunting!!!! (and good luck)